Craft experiments gone wild! Okay, maybe not 'wild', possibly just overly ambitious.
Search This Blog
Friday, October 3, 2014
Playing Dirty for FREE!
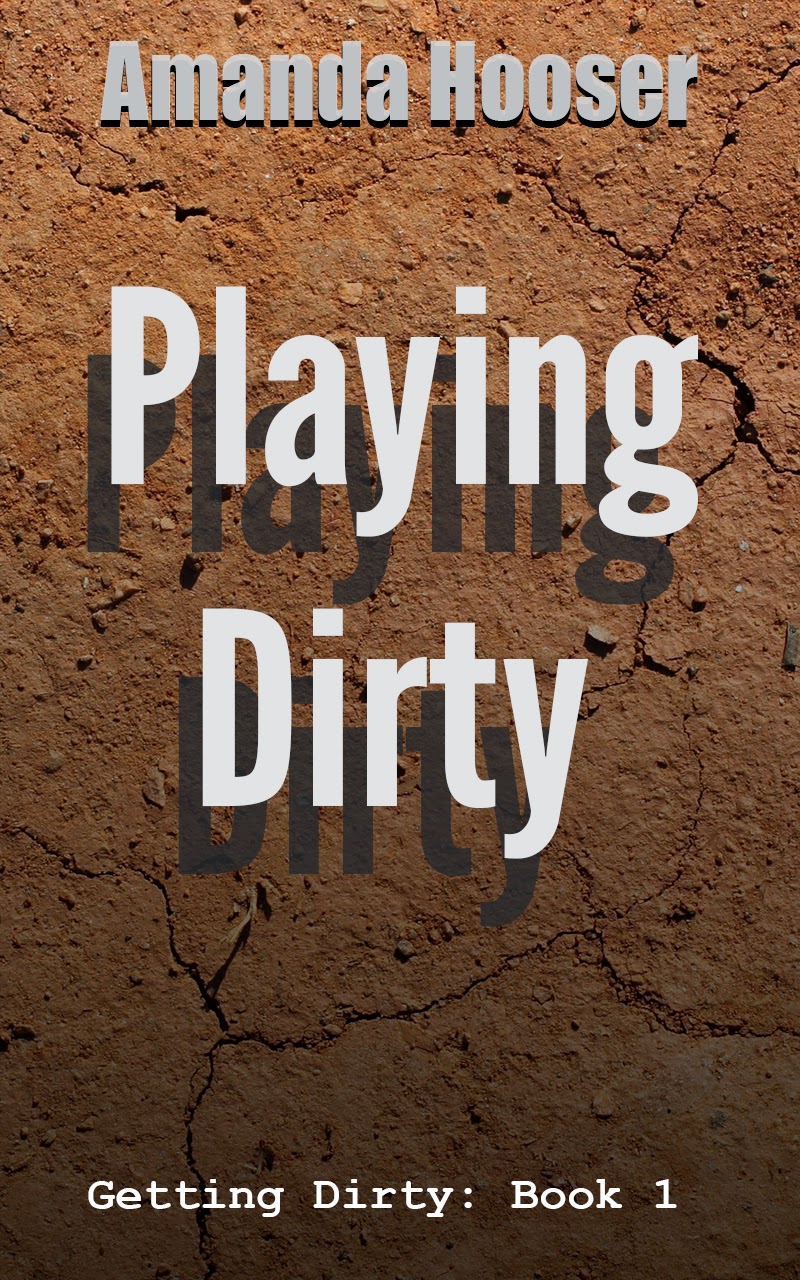
Just an FYI - my first book, Playing Dirty is currently FREE on Amazon. The promo will be running until October 5th, 2014, so if you're looking for some archaeology mixed with murdering drug rings, and smart-assed characters, you've come to the right place.
Sunday, September 28, 2014
Why Lino's Sticky Widget is the Best.
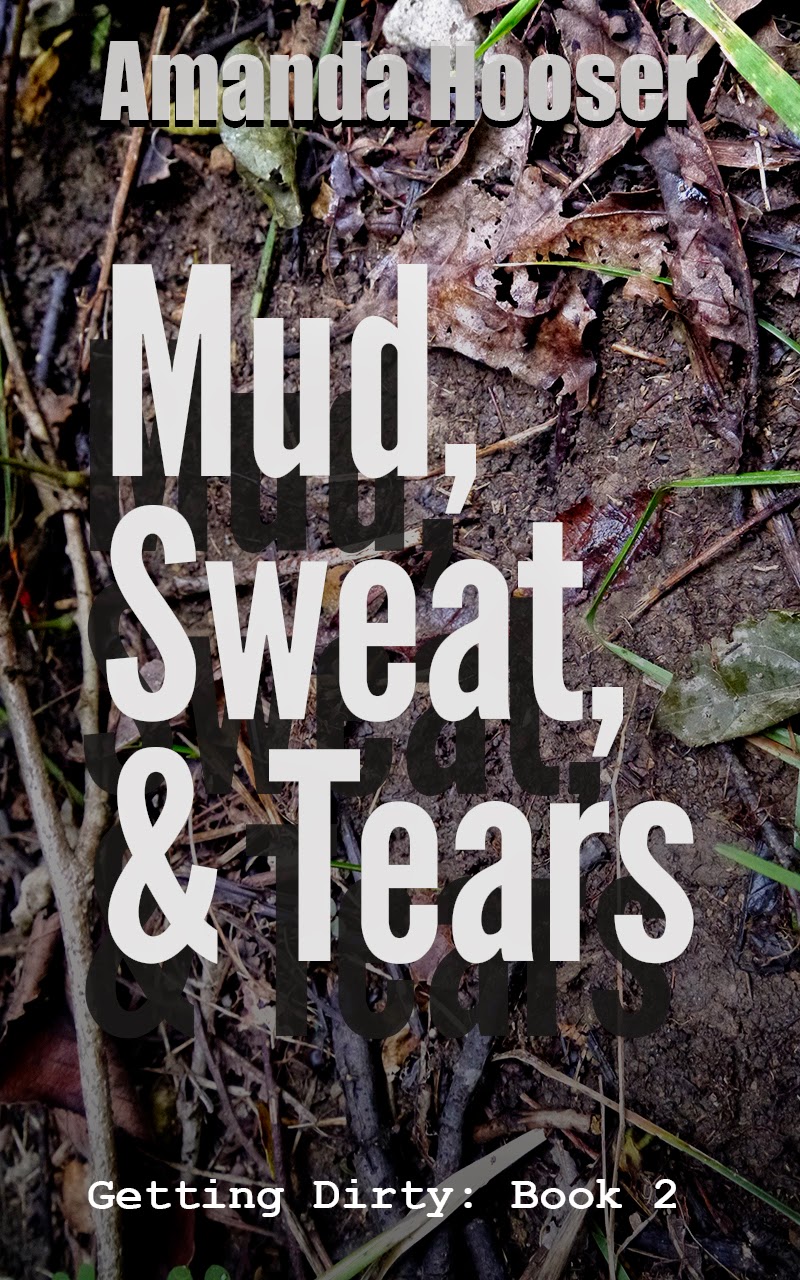
Yay me, I've just finished writing my second book, Mud, Sweat, & Tears, because, ya know, I can totally do that. Now that that is over and out of the way, I want to share, with pretty much anyone that will hold still long enough to listen, this awesome and FREE virtual cork board app. In my pseudo-professional opinion, this is the way to go when trying to organize your research and story ideas.
During the hours when I was supposed to be writing, I, of course, spent my time procrastinating on Pinterest. I was searching for tips and tidbits, ideas about how to make your writing better, how to get organized, how to make the whole process easier. (Instead of actually writing.) There were countless pins touting the benefits of Scrivener, how its cork board made organizing your story board so much easier and how you can see everything laid out in front of you. And it's true, you can use Scrivener to lay out your entire novel in scenes, which you can then move around at will. There are another twenty to thirty benefits to Scrivener, or so I've read, but I tried the free-trial and decided that I didn't want to use something that required me to watch multiple YouTube videos before I could figure out how to use it. Ain't nobody got time for that. But I liked the idea of a cork board...
So I went in search of an online cork board, because I didn't want to waste paper printing stuff out and putting it in a tabbed notebook or pinning it to a real cork board. I keep a notebook next to my bed to jot down story ideas or bits of dialogue that I come up with while I'm lying in bed, but I don't want to carry one with me all of the time. I already take a phone with me, and with lino as an app on my phone, I can take that cork board along too. Did I mention that it's free?
Let me show you how it works:
I have a sticky note widget on my home laptop, which is what I used for my first book. I wrote down information about the characters, plot ideas, and twists, but I quickly ran out of room. Plus, if someone, say, your child, decides it's in their way, they x out of the sticky, and you lose that information forever. Not so with lino. It's safely tucked away on a server, far from your children and their button clicking ways.
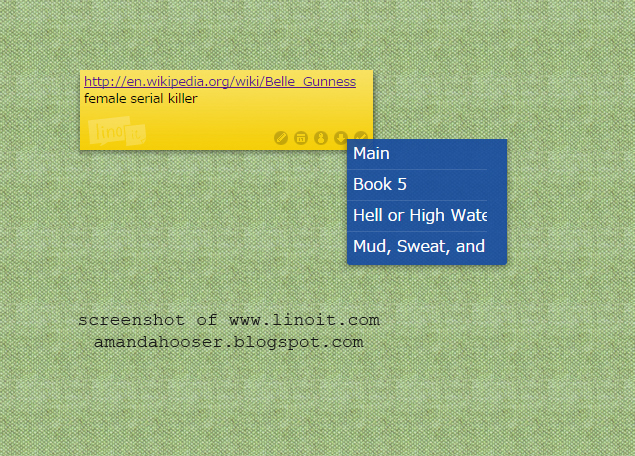
You can choose from several background colors if you want to personalize your boards. While the first board they give you will be titled MAIN, you can choose to name your other boards whatever you like. When you add a sticky, it will look like the picture below. Make a note, add a link if you like, tag it, or change the color of the sticky to fit into whatever color-coded plan you want to use. Again, it's customizable.
You can create a board for each book/paper/short story/screenplay...whatever, and there is no limit to the number of boards you can create. Are you writing a series and want the same information shared across several boards? You click the down arrow button on the bottom of the stick and choose which board you want to copy it to. It's that easy.

I have multiple ideas going around in circles in my head at any given time, so this is the perfect way to do research on something that I may only be planning to write in the future. This sort of research is normally done while I'm supposed to be writing something else, which is also called procrastination. As you can see below, I've added pictures and then labeled each picture with a link to the site the picture was found. I'm not ready to read all of those sites right now, but I'll know where to find it when I am.
And a shot of another book that I'll start writing for Nanowrimo in November. I've put up pictures of random people I've found on the internet for my character references, and then slapped stickys around them as I've thought of their backstories.
You can add it to your computer, your tablet, or your phone, and take it with you anywhere, for free. So the next time you're in Wal-Mart and think to yourself, 'That loser is going into a book," you can just pretend that your checking your grocery list app, while you're actually updating your board with characteristics of 'weird guy #10'... or whatever.
Sunday, March 9, 2014
Colored Easter Deviled Eggs
Well, this is another idea I saw on Pinterest, and let's face it, Easter projects on Pinterest range from super elaborate to gluing some Peeps to cardboard. But this is one project I saw, and well, it seemed like everyone was posting different pics of it, and I thought, 'Hey, I can totally do that!" And guess what? It was super easy. Since it involved eggs, I thought I'd incorporate another Pinterest project - baking eggs in a muffin tin.
Baked Hard-Boiled Eggs
You will need:
Eggs - 6,12,18 however many eggs you need for the number of people you're feeding.
Muffin tin and an oven
Honestly, I am the worst egg boiler on earth. I've read so many different directions for how to boil an egg that I never remember which one actually works, then they're either under-boiled or have that green ring around them. Either way you have to have a big pot of boiling water, the steam, trying not to splash boiling water on you, I just don't like doing it. I like this method for it's simplicity and I've tried a few variations since this first attempt.
The method? Place eggs in muffin tin wells, bake at 325 degrees for half an hour. If you find your eggs have burned spots on the whites, try putting cupcake liners in the tins first to give the eggs a little more protection. I'm actually considering buying silicone cupcake liners just for this purpose. (I'm on a diet, no cupcakes for me!)
There are thousands of blog posts about how to bake a hard-boiled egg, so I don't kid myself that I'm imparting any new wisdom on you, but still a little freaky to see what they look like when they're done. The oozey stuff washes right off, don't worry about that if you were planning on dying the eggs for an Easter egg hunt.
Drop them into a bowl of ice water, give them a few minutes to cool off so you don't burn your fingers, then start peeling. I've found peeling the shells off takes a third less time on average than actually boiling them. I swear I spent half an hour peeling a dozen eggs one year because they were fresh and ended up with terribly ugly eggs. This is what the burn spots look like, they weren't as bad when I used cupcake liners, and the burned area peeled right off, so you can't see them in the finished product, you just see a little divot.
The second best part, after easy peeling, is no green/grey ring around the yolk!
Then comes the fun part...
Dying Your Egg Whites
Your options here are only limited by the food coloring you have on hand. I have Wilton Gels and put them to good use.
You will need:
Hard boiled egg whites
Plastic Zip-Lock bags, sandwich size is fine
Food Coloring
Rubber gloves - unless you don't mind having multi-colored fingers
Pop those yolks into the bowl where you'll be making the deviled part of your deviled eggs and start throwing the whites into plastic baggies. You just need enough water in each baggy to cover the egg whites, and since I was using gel color, I dipped a toothpick into the gel and smeared it on the inside of the bag, where I broke it up and mixed it with the water with my fingers after the bag had been closed. You have options here, the more food coloring you use, the faster the dye works, and the longer you leave the whites in the bags, the deeper the color. I was going for bold, not pastels, so I left them in the bags for about twenty minutes. Since they're in plastic bags it is really easy to check your color saturation, just grab the bag and slide an egg half above the water line to see what color it really is.
Once you've reached the desired color effect, lay them on a double layer (or even a triple layer if your counter tops stain easily) of paper towels to dry. I would wait until you have everything laid out and drying before starting on your yolks, as that will give them time to set. WARNING - if you're not wearing gloves at this point, you're going to have colorful fingers. Wash your hands off between bags of color, or you'll be transferring the dye on your fingertips and have some weird spots. Unless you're into weird spots, then knock yourself out.
After the egg whites are dry to the touch, fill them with your yolk mixture. Deviled eggs are an individual thing, and I don't even measure for it, I just throw mayo, yellow mustard, and vinegar into the bowl until it tastes right, add salt and then stick it into a plastic bag. I don't have professional icing bags, but since I'm usually traveling with the deviled eggs, I load up a Tupperware container with the egg whites, and a half gallon Zip-Lock bag with an icing coupler in the bottom corner. (If you try this method, make sure you stick that coupler in there BEFORE you fill it with the yolk mixture) When I get to my destination, I cut the corner off at the coupler and attach an icing tip to pipe into the eggs. Wilton tip #32 to be exact. I think it makes for a more finished product. Also, I would advise that if you're traveling with the dyed eggs, to separate them with paper towels or wax paper to keep the color from bleeding into one another.
Place on a pretty plate, and VOILA! Happy Easter!
Bonus Tip:
Remember that yellow and blue makes green, and yellow and red make orange. So if you don't want plain yellow centers you can get creative with the yolks too. I made white eggs with green yolks for Christmas one year, don't be afraid to try something new!
Subscribe to:
Posts (Atom)


